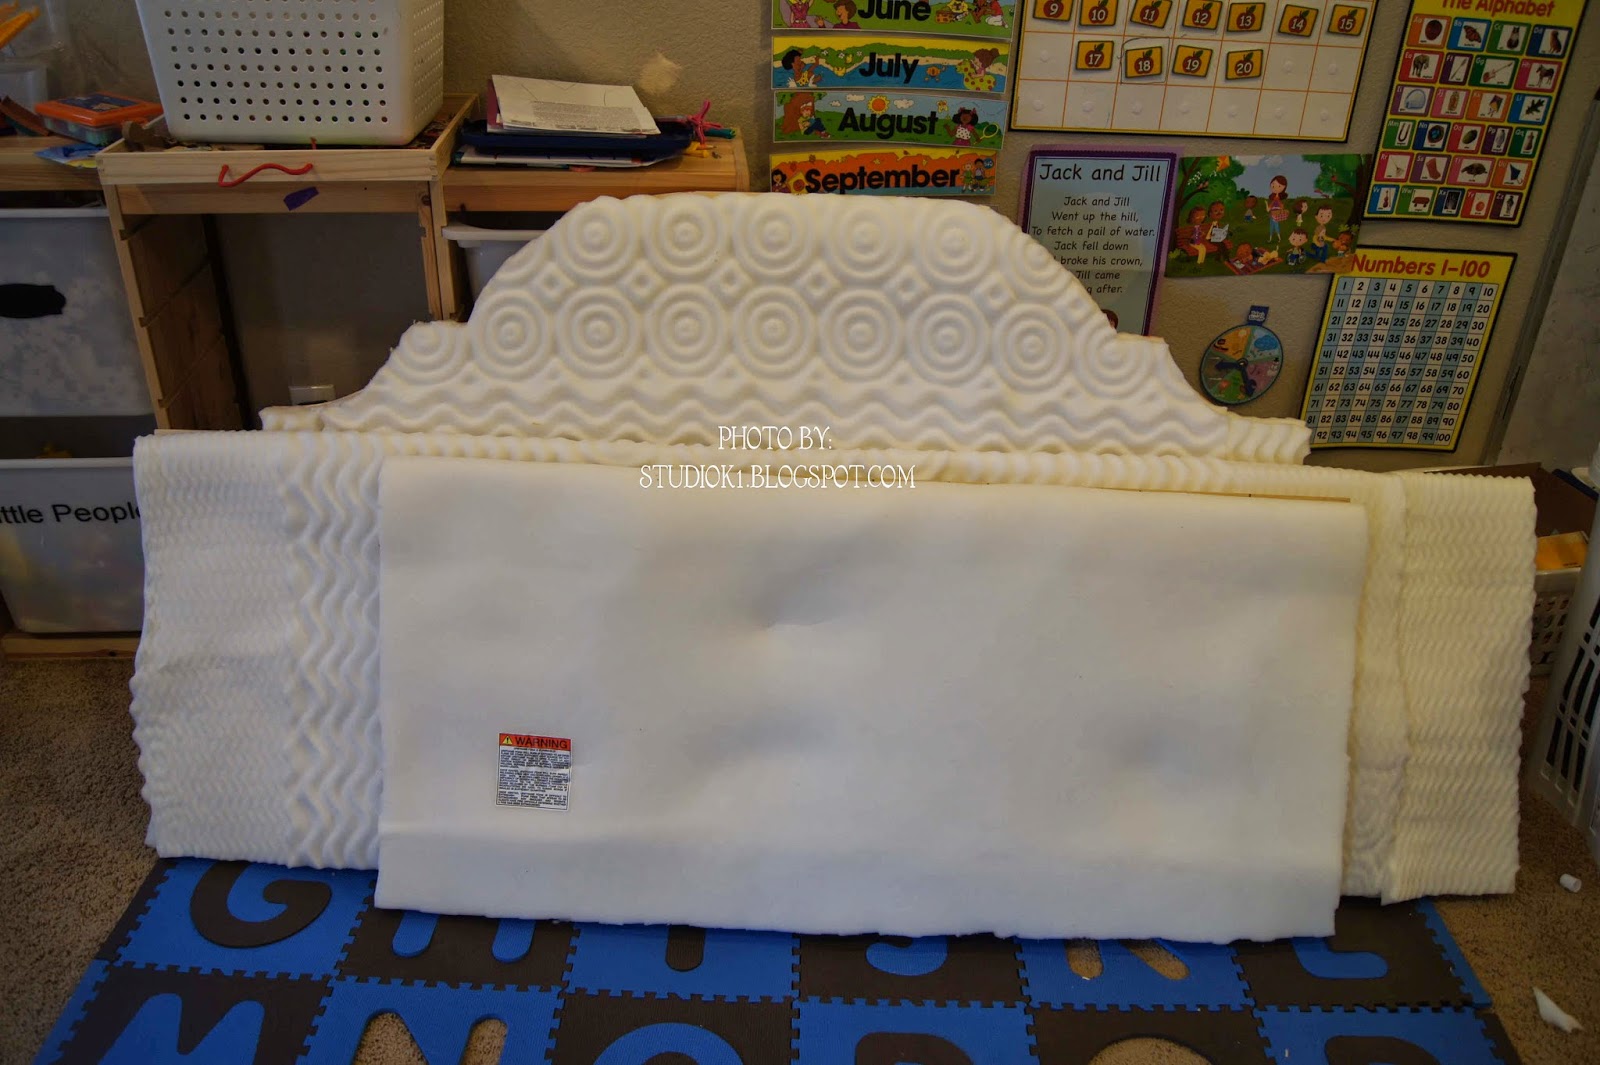
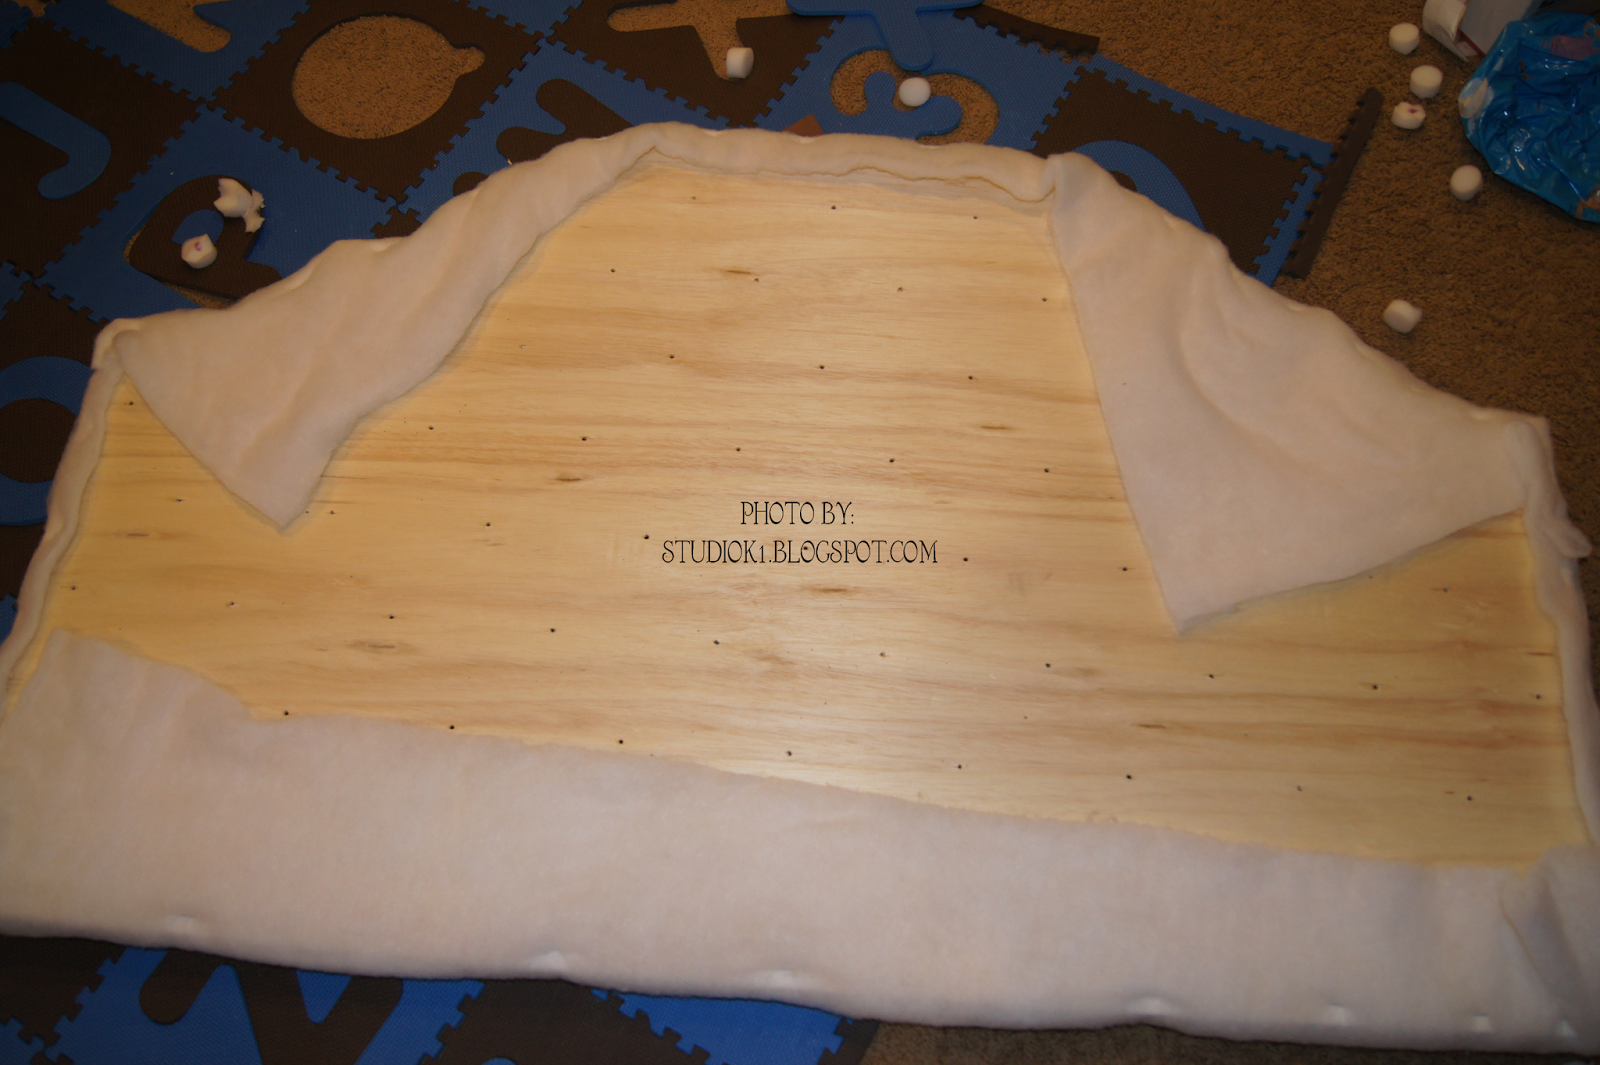
For the last few weeks I have been working on buttons. J's headboards are going to have around 130 buttons and T's headboard is going to have 24. I am making the buttons - so that is a whole lot of work. The good news is that J's are now done. T's involve an extra step that has encountered some temporary technical difficulties!
Let's start with J's buttons. They are pretty easy. You buy a kit that has a tool in it and as many refill kits as you need. I purchased mine online this time as I needed a whole lot, but I have purchased them at the local fabric store before. Here is a picture of everything you will need.

There is a template on the back of the box of button pieces that tells you how big to cut the fabric. I purchased templates for different sized buttons that are a bit more sturdy than the cardboard one on the back of the box. So, yours will likely look a little different, but will accomplish the same thing. You trace it on your fabric and then cut it out.


After cutting it out you place your fabric on the bigger of the 2 tool pieces with the hollow side up and the ugly side of the fabric up. Then place the front button piece face down on the fabric. Use your fingers to push the button piece and the fabric down into the hollow center of the tool.
Fold all the edges to the center and then place the shank of the button on top.


Place the smaller tool piece on top of the shank with the open side down and press. You may hear a click and you want to make sure you get all the edges of the shank into the top part of the top button piece.
And here is your finished product! Now repeat for as many buttons as you need!
And I wasn't even done here! ;)
So now on to the minor and temporary technical difficulty with T's buttons. T has a map room. He loves that kind of stuff. I bought an extra black curtain and am going to use that as the fabric for his headboard. It was $10 and matches his curtains. Double win! Any how, I want his buttons to be maps. So, I am attempting to print on fabric. I read up on it and got to work. But the first attempt had some problems:
The fabric peeled off of the freezer paper backing in the leading corner causing the black ink mess and I need to darken the images so they don't look so washed out when the ink soaks into the fabric. So, I will try again, but maybe not until I finish J's headboards. I will update you when I do!
The next step, the actual tufting, is the most time consuming - especially when you have 130 buttons to tuft and my staple gun broke part way through the 1st headboard. On the bright side I am replacing it with an automatic one that attaches to our air compressor. My hands are so thankful it broke! ;) So, expect a few days to a week before I post the finished photos in my next post!


