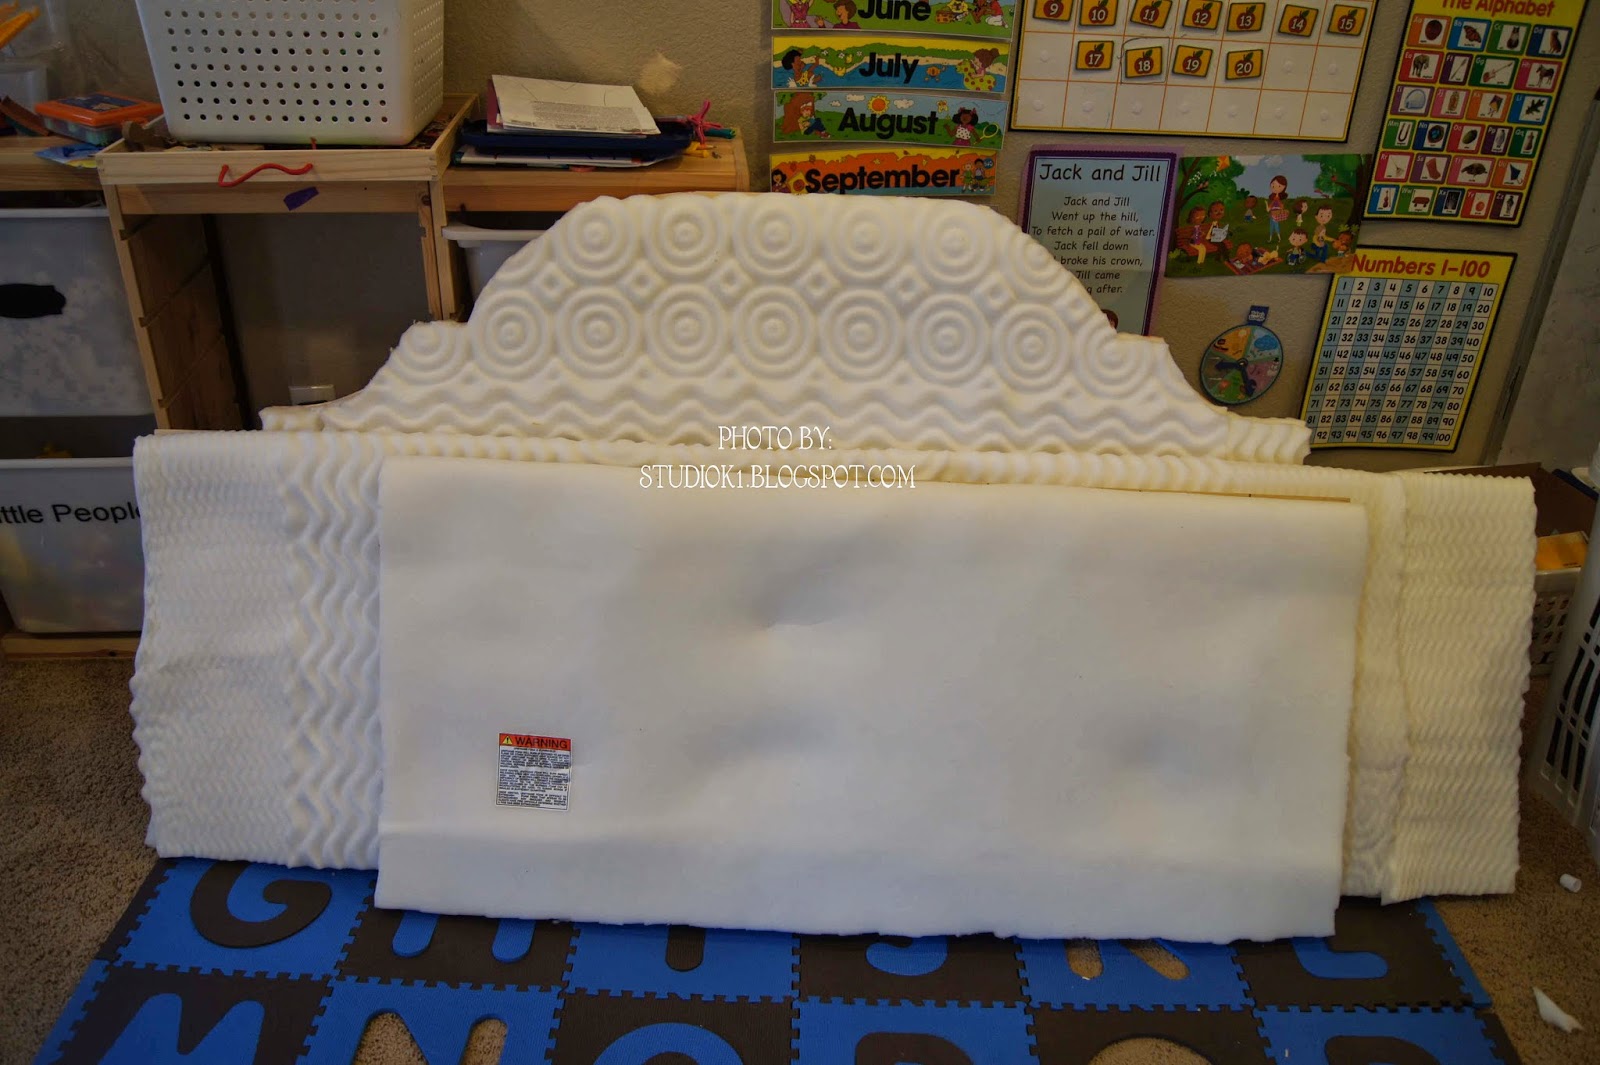
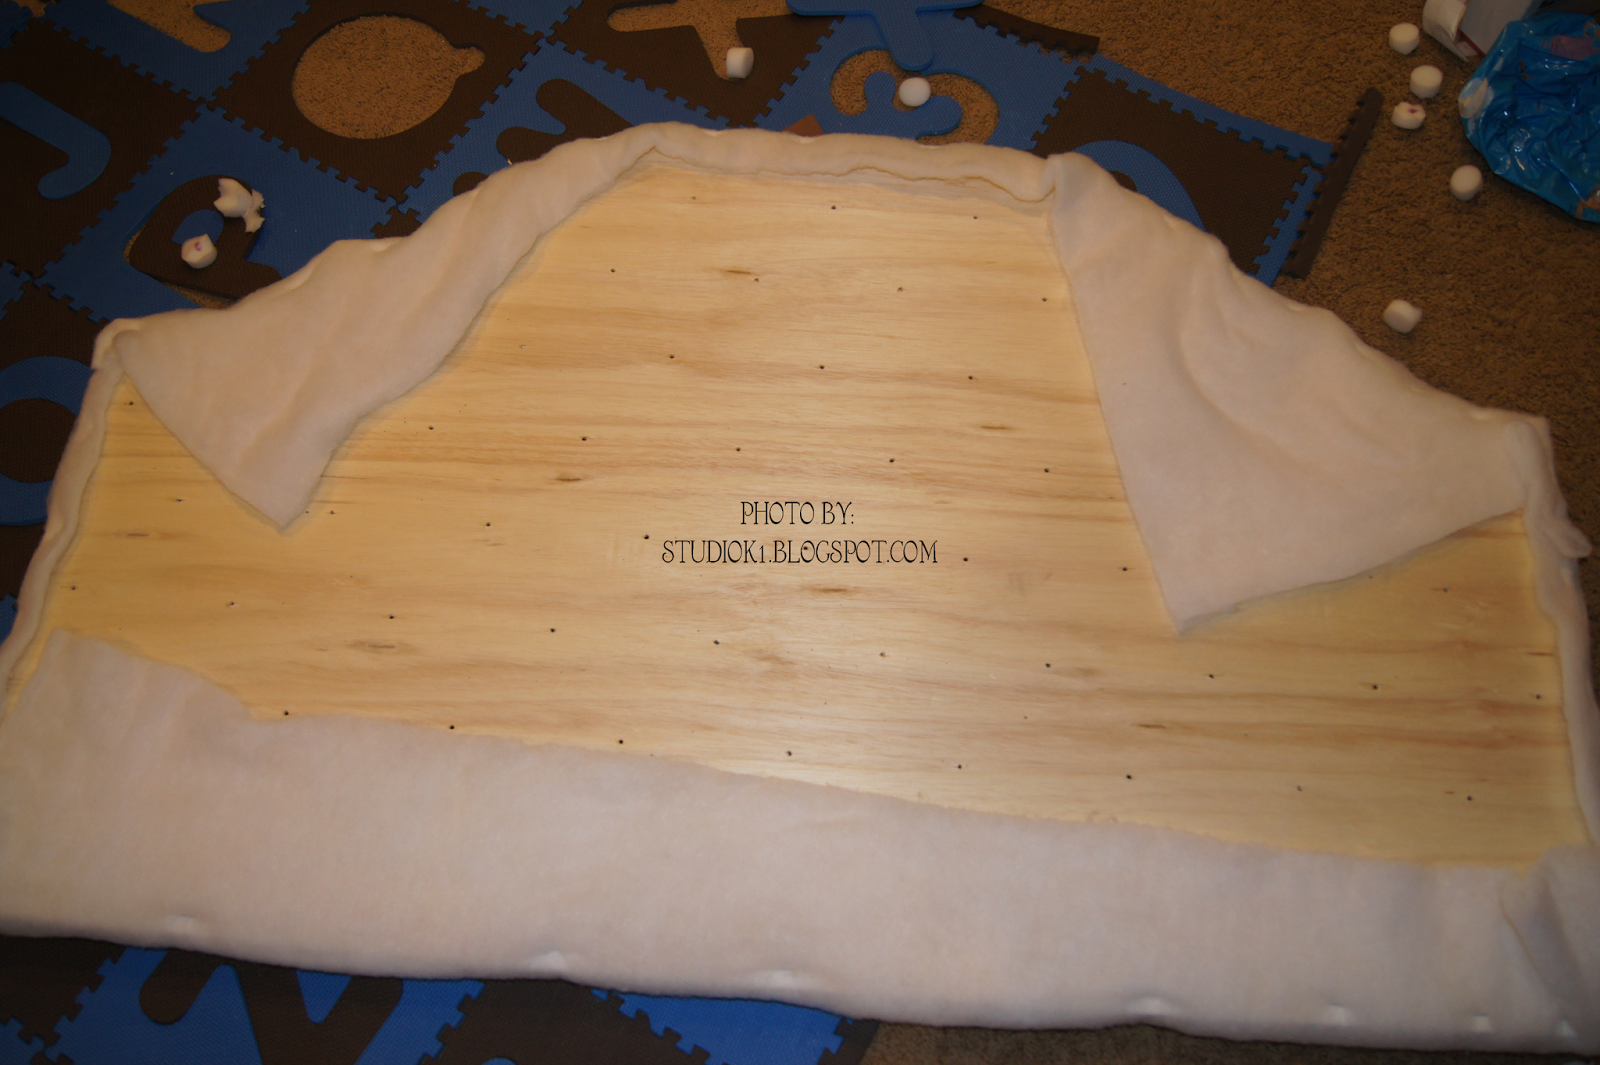
 Remember how I so carefully drilled all those holes? Well they are still there they are just convered up with all that foam! So, now we get to transfer the holes to the foam. Take a long needle and stick it through the hole from the back until it pokes through the foam on the front. I then took a Sharpie and held it for a second on the foam, against the needle, kind of down into the hole. I forgot to take a picture of this part, but you are basically marking the spot that the needle came through. A couple of tips - try to get the needle straight through the foam and not at an angle or the next step will not end well as your two holes may not match up. Repeat until all the holes are marked on the foam.
 Now comes a fun part. You have to make holes in the foam. My buttons were 7/8 inch in size and so I decided to go with a 1.5 inch hole. You can accomplish this several ways. You can cut through the foam with very sharp scissors, a box cutter might work but I have not tried that, or you can do it the slightly more expensive but save yourself a lot of headache way like I did. I bought a button tufting foam cutter. They come in a radius of 1 in., 1.25 in. or 1.5 in. that I saw. There could be other sizes as well. You hook that little tool up to a drill, spray the end of it with silicon spray often, center it over a dot and drill away! Nice holes that are uniform in size and fairly easy to cut.
It is kind of hard to see, but this is what you end up with - this was the first try so there is only 1 hole and one plug sitting on the foam.
My husband did this part for me why I was marking the other headboard. He tried doing it while it was propped against a wall, but ultimately found it was easier to do if you laid it flat on the ground and then started drilling. He also highly recommends spraying the foam cutter with the silicon spray often as that made a huge difference!

The next step is to add a layer of batting over the foam. All the tutorials I read did this - I don't know why, but my best guess is that it kind of smooths everything out. I happened to have some in my supply closet that covered both of J's headboards, but I am going to have to make a run to get more to cover T's. You staple it to the back with a staple gun and then trim off any excess.
So far, so good. Stay tuned for the next post on this project. It is looking more and more like it is actually going to work! YAY!!!!!!


No comments:
Post a Comment