Saturday, March 29, 2014

Headboards Galore: Part 2: Cool tools!

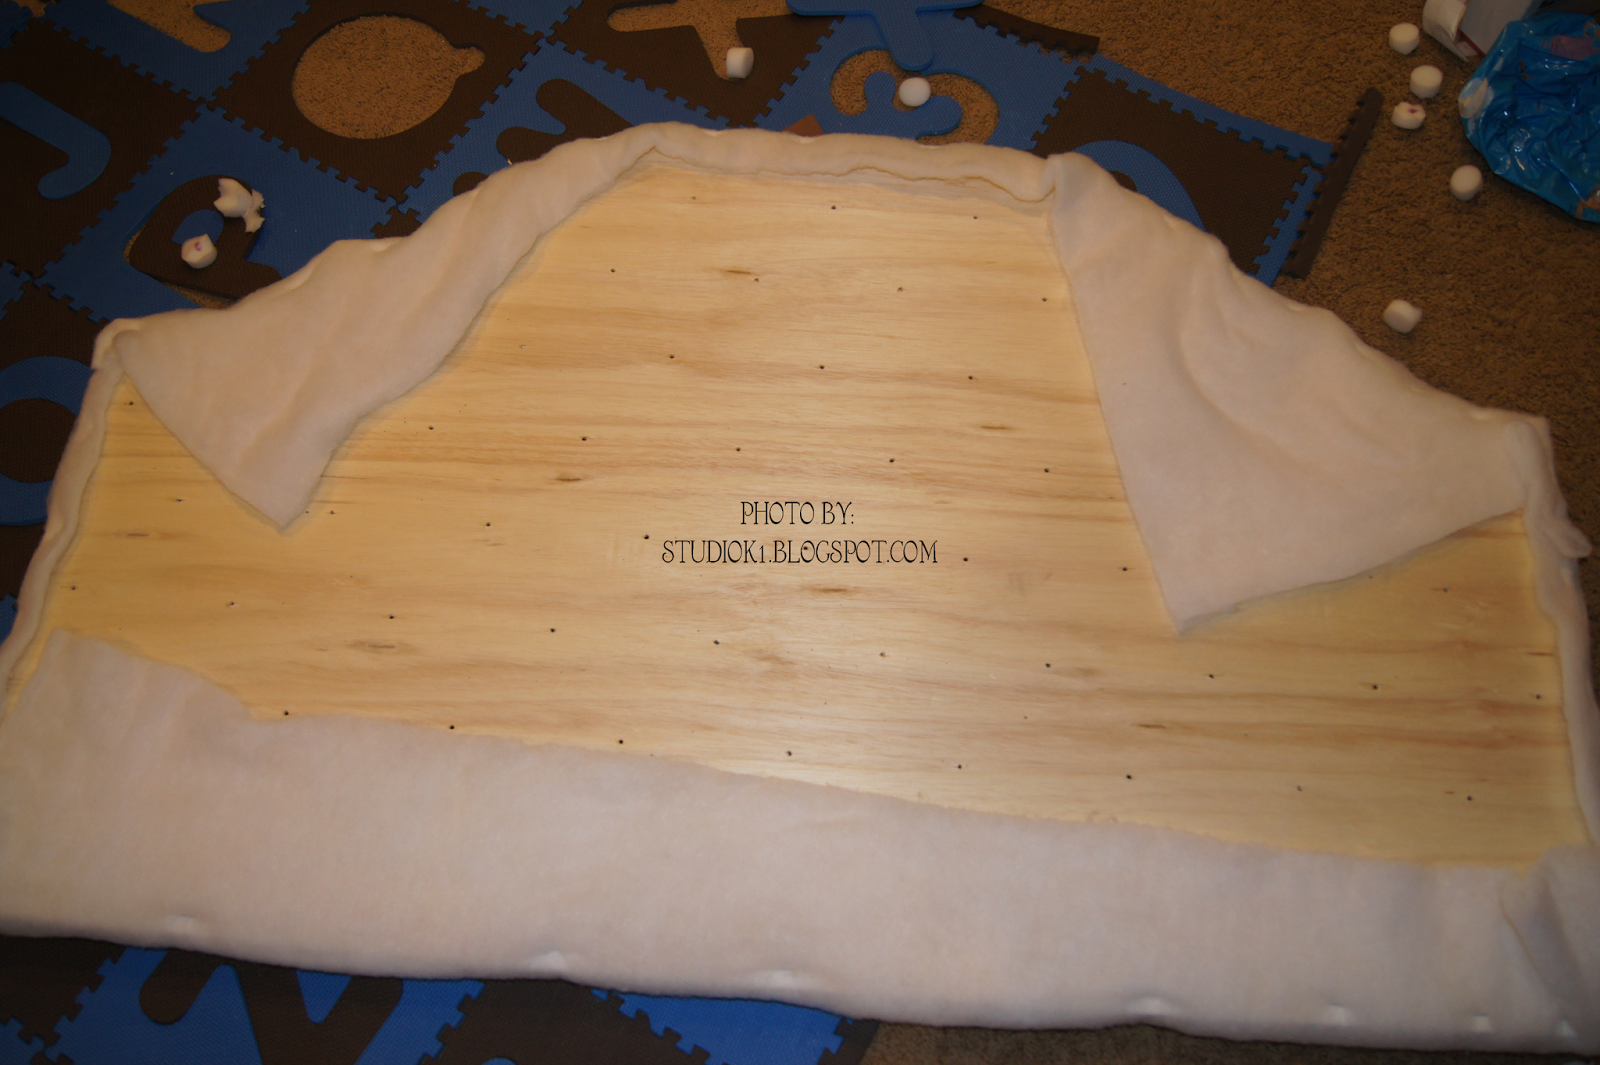
When we last left this project this is what we had:


Remember how I so carefully drilled all those holes?  Well they are still there they are just convered up with all that foam!  So, now we get to transfer the holes to the foam.   Take a long needle and stick it through the hole from the back until it pokes through the foam on the front.  I then took a Sharpie and held it for a second on the foam, against the needle, kind of down into the hole.  I forgot to take a picture of this part, but you are basically marking the spot that the needle came through.  A couple of tips - try to get the needle straight through the foam and not at an angle or the next step will not end well as your two holes may not match up.  Repeat until all the holes are marked on the foam.


 Now comes a fun part.  You have to make holes in the foam.  My buttons were 7/8 inch in size and so I decided to go with a 1.5 inch hole.  You can accomplish this several ways.  You can cut through the foam with very sharp scissors, a box cutter might work but I have not tried that, or you can do it the slightly more expensive but save yourself a lot of headache way like I did.  I bought a button tufting foam cutter.  They come in a radius of 1 in., 1.25 in. or      1.5 in. that I saw.  There could be other sizes as well.  You hook that little tool up to a drill, spray the end of it with silicon spray often, center it over a dot and drill away!  Nice holes that are uniform in size and fairly easy to cut.


It is kind of hard to see, but this is what you end up with - this was the first try so there is only 1 hole and one plug sitting on the foam.


My husband did this part for me why I was marking the other headboard.  He tried doing it while it was propped against a wall, but ultimately found it was easier to do if you laid it flat on the ground and then started drilling.  He also highly recommends spraying the foam cutter with the silicon spray often as that made a huge difference!


The next step is to add a layer of batting over the foam.  All the tutorials I read did this - I don't know why, but my best guess is that it kind of smooths everything out.   I happened to have some in my supply closet that covered both of J's headboards, but I am going to have to make a run to get more to cover T's.  You staple it to the back with a staple gun and then trim off any excess.


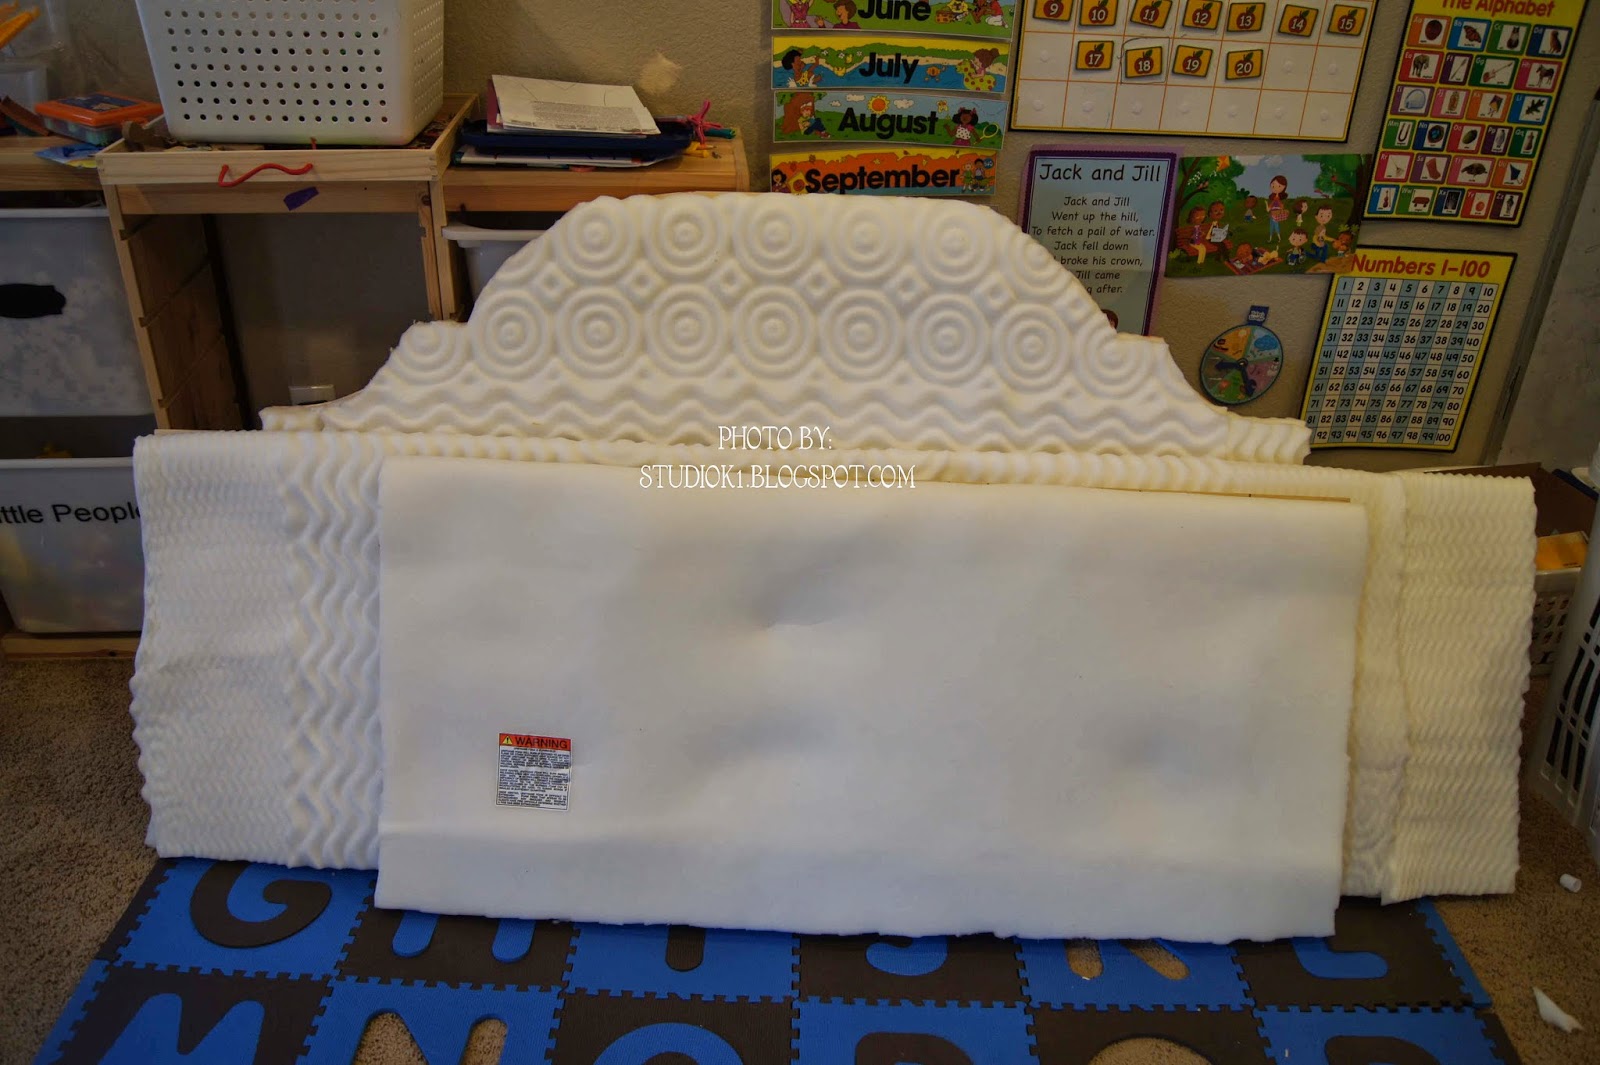
And this is what it should look like at this point.  Notice the detail on the top is not as obvious.  When I get the fabric on and start pulling things tight that should bring out the detail in the top again.
So far, so good.  Stay tuned for the next post on this project.  It is looking more and more like it is actually going to work!  YAY!!!!!!

Tuesday, March 25, 2014

Headboards galore! Part 1: Wood and Foam!

So, when I try something new I tend to jump right in.  No, starting small until I figure out if it is going to work or not.  That is just how I am.  This weeks project has been on my mind for months and months......  Headboards.    On my to do list has been a deeply tufted headboard for my oldest daughter (actually 2 - her bed is in a corner and so we are doing one for the head of her bed and one for along the side of the bed that is against the wall) and a not quite as deeply tufted headboard for my son.  This week I finally got to work on them.

I read all sorts of tutorials and then jumped right in.   After reading all the descriptions I decided that I wanted a deeply tufted diamond tufting on my daughter's 2 headboards and less tufted rectangle tufting on my son's headboard.  First I measured and used graph paper to lay out the size and tufting pattern for each headboard.

Next, I grabbed the hubby and we headed to Home Depot.  We grabbed two 4 ft x 8 ft pieces of wood.  Cost was around $45.  I originally thought I would need 3 sheets, but adjusted the height of two of my headboards to 24 inches so that I could get 2 out of 1 board and save some dollars.  Wood is not cheap!  We had Home Depot cut the boards to size for us.  The headboard that is going at the head of my daughter's bed was going to have some detail and not be just square.  So, I worked with my daughter to create a shape we both liked and then made a template.  I sketched it unto the board and borrowed a friend's jigsaw to cut it out.  I love how it turned out!

Then, I transferred the grid lines from my graph paper to the wood and marked each place that I needed to drill a hole with an X.    This, is where I surprised my husband.  While he was at work I found his drill, figured out how to switch the bit, and drilled through each X all on my own.  He acted surprised when he got home - so apparently he didn't think I knew how.  ;) 


 The next part involves foam.  I used an egg crate type foam mattress topper from Walmart.  I think it was cheaper doing it this way then buying the foam padding from the fabric store.  That stuff is expensive!  I used a total of 3 full size foam mattress pads.   I bought these a while back and I am going to have to swing by Walmart to see how much I paid.  I will update this when I find out.  I also used a can of spray adhesive.  The one pictured worked OK for this project, but I might try a different one next time.  I just already had this one on hand.  I had to piece the foam together in paces - which is totally fine!  I also doubled it up so that I had 2 layers over my whole board.  I wanted it to be a little thicker and I had enough foam to do it.  Yay!


After all the foam was adhered to the board or another piece of foam with the spray adhesive, I flipped the board over and used scissors to cut along the edge.  I was going to use a box cutter, but couldn't find it and found that my sharp sewing scissors worked pretty well for this.  They did end up with adhesive residue on them that I am hoping I can get off - so beware if you use expensive sewing scissors!


 And that brings us to where I am now.  The boards are covered with the first layer.  The next steps are to get all of my buttons made and covered (130 for my daughter's and 24 for my son's).  And to cut out parts of the foam on my daughter's so that the tufting gets good and deep.  More on that on my next post!


I have never done this before and what you see above is where I stopped about an hour ago when I wore out.  I hope to get this project completely done in the next week or two.  I will post updates - so you will know if it is total fail!  Wish me luck!  I am going to need it!

Tuesday, February 18, 2014

Music wall with Vinyl!

For the first real post on this new blog I think I will start with a project that has been on the to get done list for quite some time.  Vinyl on my daughter's wall.  Her passion is music.  She plays piano, violin and viola.  When she started violin about 1.5 - 2 years ago her teacher said she had never had anyone pick it up so quickly - she totally skipped that squeaky stage - yay for me!  So she soon decided she needed another challenge and wanted to learn viola.  Since she was due for an instrument upgrade, because the old one was too small, we decided to go with a 5 string violin.  With the 5 string she can play either viola or violin on the same instrument.  Viola has a totally unique clef called the Alto clef.  It is somewhat rare in that most instruments don't ever use it.  She had to learn a completely new set of notes to play viola.   So, that is the story behind the inspiration for this complicated wall art!

TA DA!


So, she picked the song and it is by Vivaldi.  When I told her we could do a real song I was thinking Twinkle, Twinkle difficulty and she had other ideas.  It is written in the alto clef so that it is unique, just like her and to highlight being your own kind of beautiful.

The saying and the mirrors are left over from her old room.  I redid the saying to match the purple and then used then mirrors as the bottom of the notes instead of the center of flowers.  The mirrors are etched.  I made a vinyl stencil and then used etching cream to etch the glass.  I kept the saying and value mirrors in the room because I want her to have a constant reminder through the tumultuous teen years that these are the things of value and that they are what create our inner beauty and that our outer beauty is a reflection of that inner beauty. 

We still have a few projects to go in this room.  A simple one is that I want to cover her white fan blades in a zebra print pattern and I have a headboard I want to make for her bed.  Hopefully we can start pulling those projects out of my very full project bin and get them done!