Monday, July 28, 2014

T's map room headboard!

Well, this is a long overdue post!  I started this project at the same time as J's headboard and then got so busy that I never finished it.  Then I finished it a few weeks ago right before we left on a big vacation.  So, this post has been a long time coming.

T's Headboard!!!!!!!


And a close up of some of those printed buttons!


Here is what I learned from this project:

1) When printing on fabric add ink!  The fabric sucks in ink more than paper, so you want to make sure what you are printed is a bit over saturated so that it will look right on the fabric.  

2) I also learned that maybe a blackout curtain is not the best material to use for a tufted headboard.  I wanted to use the same fabric as his curtain and since the curtains were only $10 a panel it seemed like a good idea at the time.  The problem was that the blackout coating they put on the back of the fabric caused the fabric to not have any give.  This lead to a less smooth look in the finished product.  Not awful, but not as tight and smooth as I would have liked.  You can see that it looks more wrinkly than the one I did for J's room and now you know why.  I still like it, but it does bug me a bit that it is not tight and wrinkle free.

3) Double check the size of the staple you need.  I put the wrong size in and they stick through the back of the board.  Not a huge problem if it is hanging on the wall, but let's just say that I ended up with a few scratches as I was working on the headboard.  A shorter staple would have prevented battle wounds! 

That is all for now.  One of these days soon I have to redo the artwork on his wall.  I bought a few new things and I need to rearrange what is there.  I also was inspired today by a post I saw somewhere to start looking for one of the old pull down maps that they hang in classrooms to put in his room.  I found a couple online, but want to see if I have too much already and I need to wait for the cost to fit into the budget.  But isn't that a cool idea!  


Wednesday, June 25, 2014

Printing on Fabric for T's headboard

Well, let's just say that the end of the school year and the first month of summer kind of did me in.  Way over scheduled!  I hate it when that happens, but with 4 kids it is something that occurs often.  This week things have slowed down a bit and next week I am calling a no schedule pool week to make up for the first month of summer being so busy.  Anyways that is why I have not written any posts or done many projects!  Time to remedy that by finishing T's headboard that I started a few months ago.

So, here is a quick tutorial for printing on fabric!  The button fabric was printed using this method!

Besides your inkjet printer and some fabric you will need the following:
(not pictured is the Bubble Jet Rinse)
The freezer paper can be found at the grocery store near the tin foil sometimes.  It will be a different brand as the one I have is specifically for crafts and comes in sheets instead of rolls.


You first follow the directions on the Bubble Jet to treat your fabric.  It is pretty easy.  Cut a piece of fabric slightly larger than you want and soak it in the solution for about 5 minutes and then hang it to dry.

Once it is dry you then iron the shiny side of your freezer paper to the wrong side of your fabric. I forgot to take a picture, but I had a scrap that will hopefully help you see what I mean.   the top part that I am peeling up is the fabric and the bottom is the freezer paper that I have ironed it onto.

Then cut the fabric/ freezer paper down to the size of paper your printer will take - typically 8.5 inches by 11 inches.  for my printer you place the side you want printed on down, but you will have to check your printer to see.  You want to print on the side of the fabric that the freezer paper is not attached to.

Then use the proper settings for your printer to print your image onto the fabric.  You may have to play with your printer and the fabric a bit to find the right settings.

Once you have it printed let it dry for awhile and then peel the freezer paper off of the back.  You are now ready to make your buttons!


This project hit a snag when my first try print of maps on fabric for his buttons didn't work.  I forgot that fabric will suck in the ink more than paper and turned down the amount of ink being printed.  I had to fix that problem before I could move on.  They turned out perfect on the second try.  This time I turned up the saturation on my file that I was working with so that it almost looked a bit overdone which caused it to look perfect on the fabric.   Just remember that when you are doing the printing.

I then used the directions from this post to make the actual buttons:

https://www.blogger.com/blogger.g?blogID=8033456016525440553#editor/target=post;postID=4920586827072482513;onPublishedMenu=allposts;onClosedMenu=allposts;postNum=2;src=postname

And you end up with this!


Well, that is a super quick version of how I did the buttons for T's headboard.  This week or maybe next I will be putting the whole thing together and getting it hung on his wall along with a few other fun things I got on my girl's week for his room.  Yup, even on the girl's week us mom's still think about our kids!  I am pretty excited to put the finishing touches on his map room!


Monday, April 7, 2014

Headdboards Galore!: Post 4: J's are done and hung!

Ta Da!  Here it is!  And I love it!!!!

I would definitely classify this project as a learning experience!  I am glad I did so many buttons on this project as I was able to adjust how I was doing it and make it easier for myself for next time.  I think if it hadn't had to put around 130 buttons on the 2 headboards I would have done it exactly like I read and forgotten how time consuming and frustrating it was before doing this project again.

I am going to tell you how I did it, but I am new to this tutorial thing - so if something isn't clear you can ask and I will try to explain better or you can search for other tufted headboard tutorials out there in internet land.  There are a few.


When we last left off we had this:


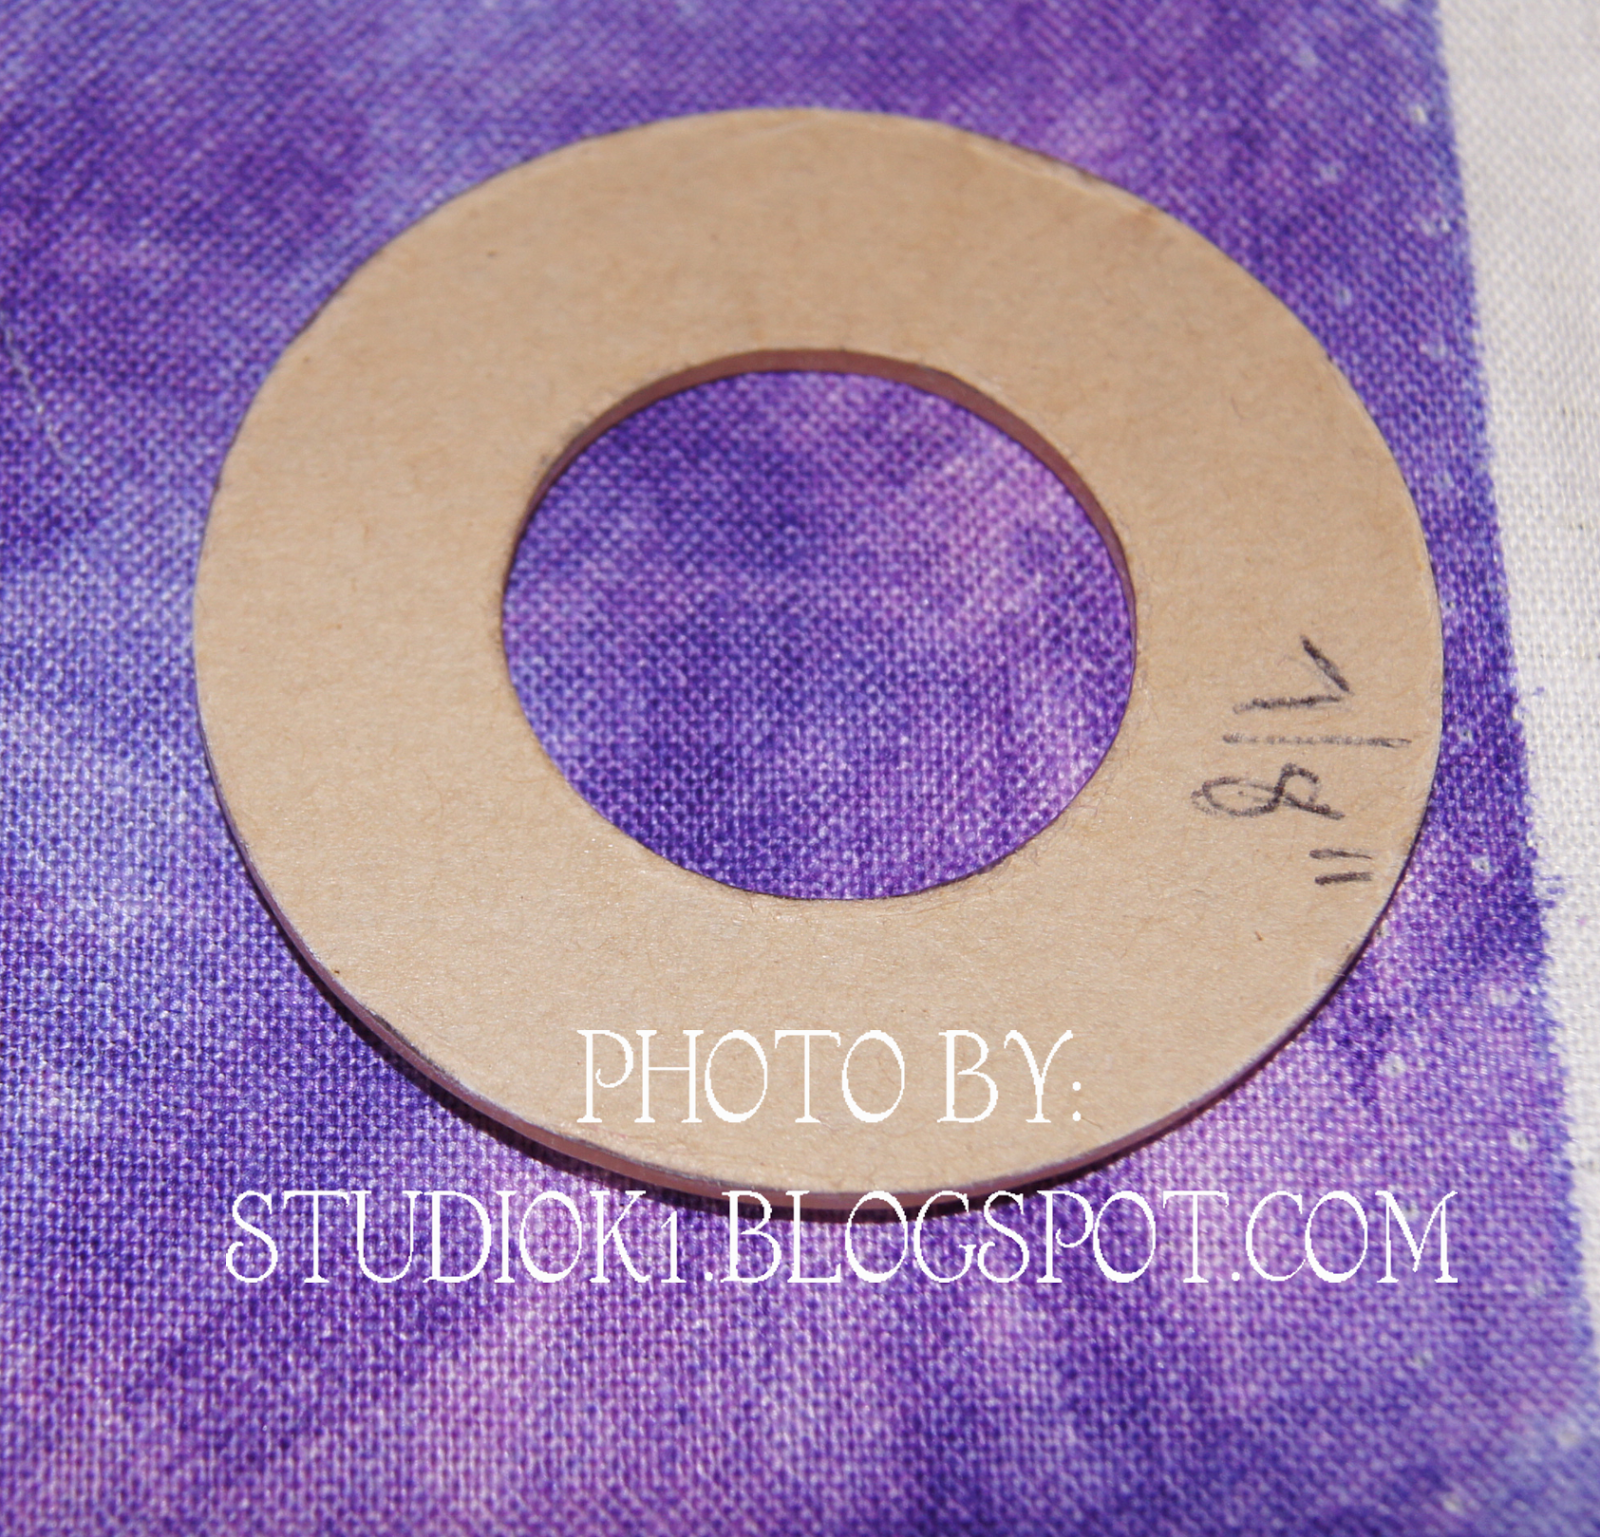
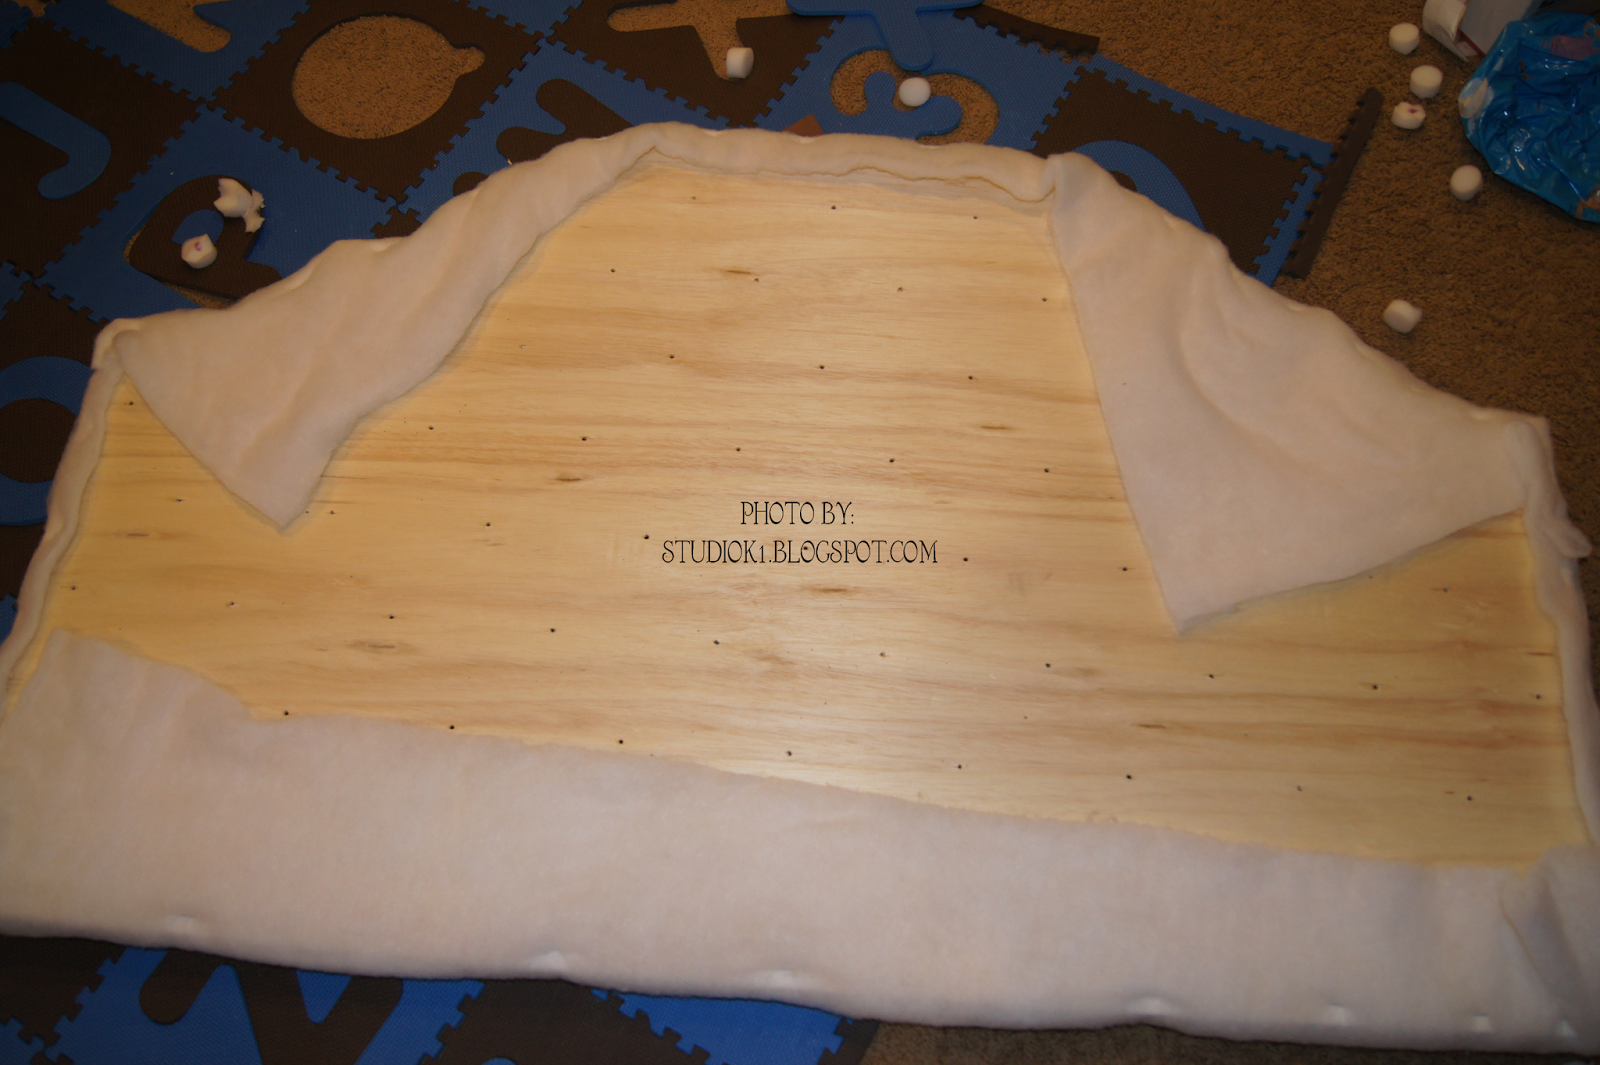
The next step is pretty simple.  Use your fingers to make holes in the batting everywhere that there is a hole in the foam. Just kind of tuck the batting down into the hole in the foam as you make the holes.


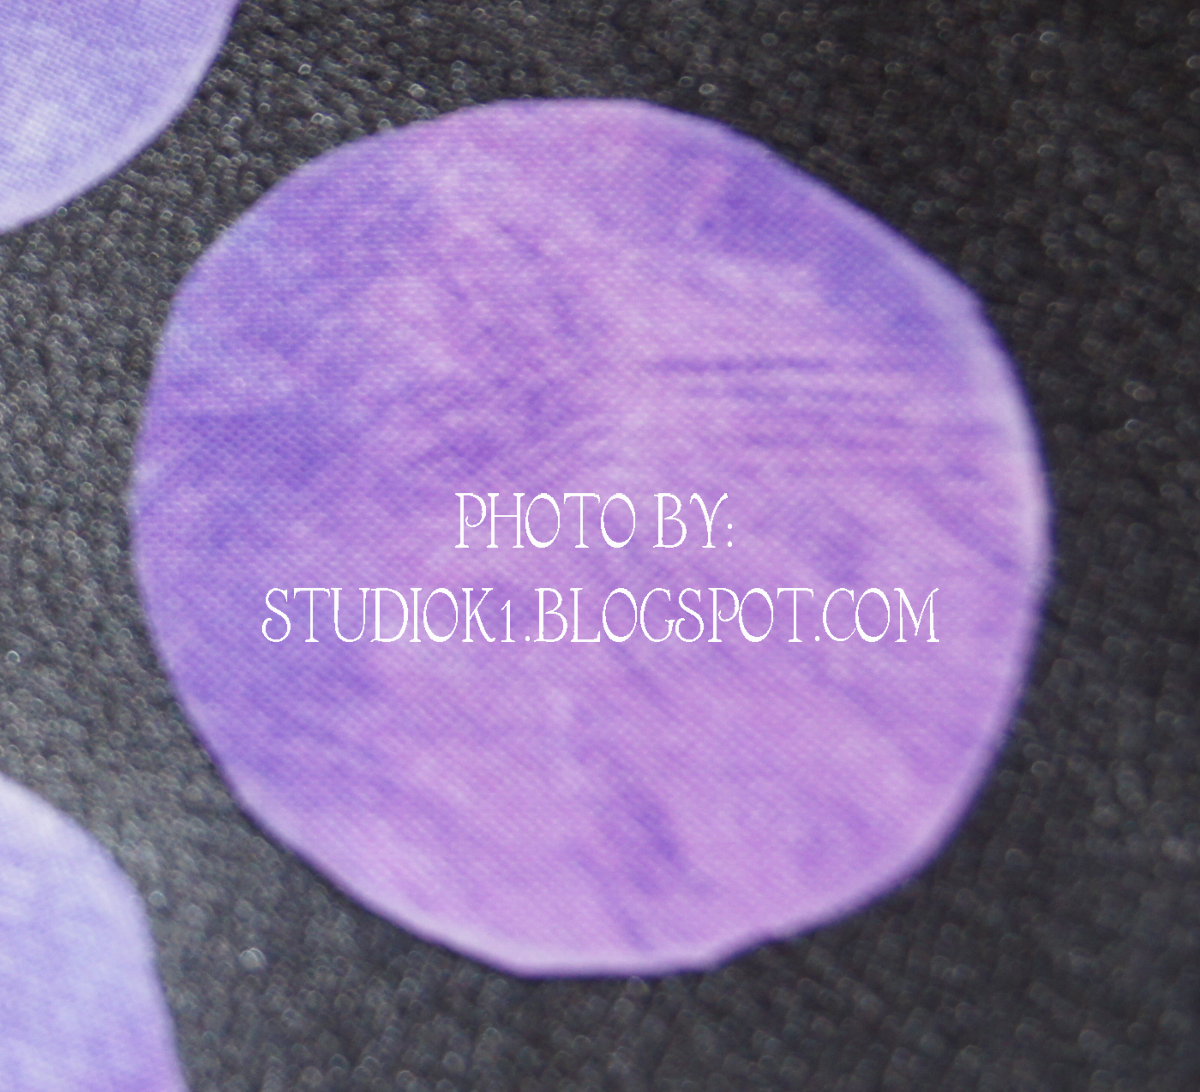
 I actually added a step that most people won't need.  I used 19-20 different purple fabrics for the buttons on this headboard.  I wanted to make sure no two that were the same were near each other.  So, before I poked holes in the batting I laid all the buttons out to make sure I knew where I wanted them.  Then I transferred them to my ottoman in the same order so I would know where they went.  I also threatened the lives of all of my children if they got anywhere near the buttons and messed them up.  ;)  Since most people use the same fabric on their buttons or will go for the random I don't care look - you can probably skip this step.


All the tutorials said to lay your fabric out and to center it on the headboard and then to start from the middle and work your way out.  I had 8 yards of fabric and was hoping to have some left over to cover her box spring.   I did not want to waste any fabric.  So, I of course ignored those directions.  I did not cut the 8 yards of fabric and laid it out over my headboard with the cut end overlapping one end enough so that I could staple it under when done.  You can either center your width on the board or I also left one side longer than the other and just made sure I would have plenty to staple under on the shorter side.  Then I started at the end with the cut end of fabric overlapping it and did one column from top to bottom at a time.  This seemed to work just fine for me, but you will have to decide what will work for you.  No promises here.  Once I got to the end I cut the excess and did the next board the same way.   These pictures are not spectacular, but I was trying to show you what I did.  I did not get very good pictures of this.  The top left picture was taken from the end of the board.  So the bottom of the picture is actually the end side of the long headboard.   The bottom left picture is looking at the shorter scalloped headboard from the bottom of it.  You will understand the comments on the pictures after you read the whole post.


All the tutorials I read said that applying the buttons and doing the tufting was much easier with 2 people and boy were they right!  I started out having my oldest 2 help me, but their attention span was not 130 buttons long and they were at school for big chunks of the time that I wanted to work on it!  I could still do it, but it was a lot harder, took more time, and I was not getting the buttons as tight as I wanted.  So, a new plan needed to be formed!

Let's start at how I started doing it:

Thread the thread through the hole from the bottom.  Thread it through the button and then back down thorough the hole.  Pull on the thread from the bottom while pushing the button down and helping the pleats to be where you want them.  Then have a child laborer, aka my oldest son or daughter,  push down on button and board while you continue to pull on string and climb under the headboard.  Take staple gun and begin to staple thread 3 times on back of board, all while child laborer is hopefully pushing down hard enough so that the board does not push up causing the staple to not go in tightly.   Repeat 130 times!  You can see where this was quite the process!


Once you get to this point this is what you do on the back (This applies no matter which of the ways you choose to attach your buttons and make your tufts):

I was putting 3 staples over each string.  Make sure your button is as tight as you want it before you put the staples in and then staple.  You want to move the string to different angles for the different staples so that it is less likely to slip and you want to make sure your staples are tight.  It is easier to get them tight if you staple with the board face down on the floor, but that can make it harder to make sure your button is where you want it.  You will have to play with it and see what works best for you.


Then a small miracle happened.  One of those blessings that at the moment it happens you do not see as a blessing, but later you are so glad it happened!  My trusty staple gun broke.  For a single moment I considered running to the store and grabbing a new one just like the old one and then I realized how sore my hands were from the old one and made a decision.  It was time to upgrade to an air powered staple gun.  I did my research and the one I wanted was not available at the local store - so I ordered it online.  Luckily I have free 2 day shipping on the site I ordered it from!  The new staple gun opened up the possibility of a whole new process!  YAY!!!

New way:

Press fabric into hole where button goes with fingers.  Get everything laying just like I want it to and as tight as you want it and then put nose of staple gun into hole and move your fingers out of the hole. Insert a staple to hold it there.  Repeat 130 times or however many buttons you have.  The new staple gun was not flat on the end like the old one, but had a nose that fit oh so nicely into the hole!  Once all the places where a button will go are stapled down you start threading your needle and button through just like you did before, but I was able to do a whole bunch at once without securing them with the staples on the back and then flip the whole board over onto the floor and pull the strings tight and staple them down.  Because the fabric was already secured I did not have to worry about getting the pleats right and the buttons/ strings didn't pull out as they would have if the fabric were not already secured to the board below the button.  Because I could easily flip it over onto the floor the board didn't move and I could get the staples tighter.  And then there is the fact that the new air powered staple gun was so easy to use and my hands were not killing me like they were from the manual staple gun!  Win!  Win!  Win!!!!!!  One person doable and so much easier!  And if something did not line up right it was so much easier to pull a staple out than it was to cut the string and remove the button.  At least I thought it was easier.


I forgot to take pictures of adding the buttons after this, but you just repeat the steps from above for that, but everything should be in place - so you don't have to worry about getting your pleats right or anything.  Just apply button!  Here are the pictures from above again to remind you.
 

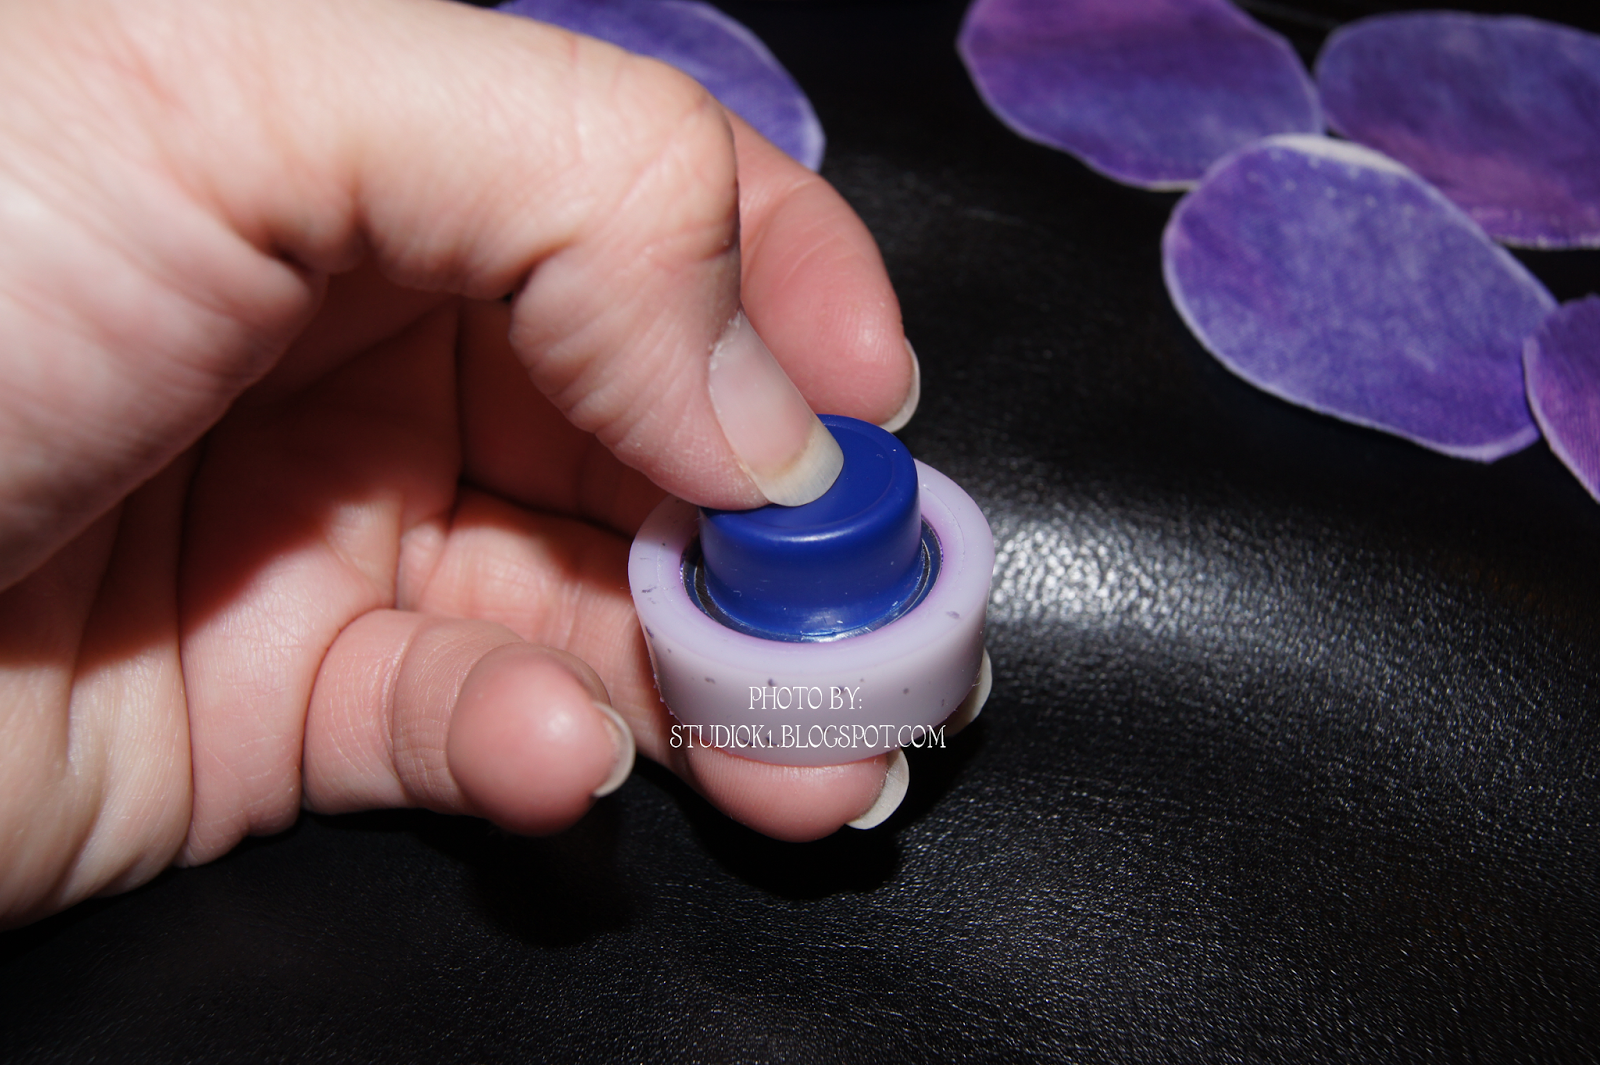
I  also discovered one way not to do it.  It might work for you, but after an incident I decided it was not worth the saved time to chance a later disaster.  I threaded the button on the string first and then threaded both ends of the string through the needle.  I then used the needle to thread the string through the fabric and hole from the top.  And then I pulled it tight and stapled it in place just like the other two ways.  The problem - this puts a lot of extra pressure on the shank of the button and I had one that later popped off the wires that hold the string.  Since the two sides of the string go though 1 hole in the fabric it is only the button holding everything in place.  I fixed it the lazy way as I did not want to recover another button.  I put a new string though the hole to hold it - without a button on it and then I glued the button over the top of the string.  Let's hope the others that I did that way don't do the same thing over time!  Or I will probably try the other not great, but will work method of fixing it.  Staple the fabric back where it should be and then glue the button on top.  I considered this as a 4th method, but was afraid the staples would pull out too easily.   Maybe your buttons won't break as I only had one do that, but I don't think I will chance it again!


One other thing: I also wrapped the edges and stapled them as I went.  I waited until I got a few rows past a spot and then would pleat it and wrap it.  I found that most of the time pleating it at the center of the button to the edge worked best for me on the rectangular sections of headboard, but this is something that you will have to work with and see where the pleats seem to want to go naturally or where you can force them to go because that is where you want them.  ;)  You could also wait and do all the edges once after all the button tufting is done.  That is probably the way most people would do it anyways.  I just like to do things my own way!

Once you finish applying all the buttons and wrap the edges you turn the board over and trim off all the excess fabric and batting.  You are done!  Well, you could try to cover the back, but who will ever see it!  And you need to apply something to hang it on the wall.  But, the hard part is done!  Here is my finished product!  I love how it turned out!  The straight purple is her sheets.  I think I kind of prefer it with just purple, but I am not replacing her bedspread right now and she is 12 and loves it.  I think 12 year olds like things busier than adults do - or at least mine does!

Cost analysis:

I think each headboard was right around $100.   So, $200 for the two in J's room.  That is if you don't count the tools I bought to make them.  If you count those then you are probably closer to $130-$140 each.  Not too bad!  The cheaper ones on Etsy seemed to run around $300-$500 each with an additional shipping fee of about $150.  So, way cheaper than the custom ones I found there!  Another win!

Now on to my son's headboard.  That one may be a few weeks off.  I still have to figure out the whole printing on fabric for his buttons and the next few weeks are a bit crazy!  Stay tuned for more!

Monday, March 31, 2014

Headboards Galore!: Part 3: Buttons! Buttons! and more Buttons!


Progress!  Still not done, but so far so good!

For the last few weeks I have been working on buttons.  J's headboards are going to have around 130 buttons and T's headboard is going to have 24.  I am making the buttons - so that is a whole lot of work.  The good news is that J's are now done.  T's involve an extra step that has encountered some temporary technical difficulties!

Let's start with J's buttons.  They are pretty easy.  You buy a kit that has a tool in it and as many refill kits as you need.  I purchased mine online this time as I needed a whole lot, but I have purchased them at the local fabric store before.  Here is a picture of everything you will need. 


 There is a template on the back of the box of button pieces that tells you how big to cut the fabric.  I purchased templates for different sized buttons that are a bit more sturdy than the cardboard one on the back of the box.  So, yours will likely look a little different, but will accomplish the same thing.  You trace it on your fabric and then cut it out.


After cutting it out you place your fabric on the bigger of the 2 tool pieces with the hollow side up and the ugly side of the fabric up.   Then place the front button piece face down on the fabric.  Use your fingers to push the button piece and the fabric down into the hollow center of the tool.


Fold all the edges to the center and then place the shank of the button on top.


Place the smaller tool piece on top of the shank with the open side down and press.  You may hear a click and you want to make sure you get all the edges of the shank into the top part of the top button piece.


And here is your finished product!  Now repeat for as many buttons as you need!


 And I wasn't even done here!  ;)


So now on to the minor and temporary technical difficulty with T's buttons.  T has a map room.  He loves that kind of stuff.  I bought an extra black curtain and am going to use that as the fabric for his headboard.  It was $10 and matches his curtains.  Double win!  Any how,  I want his buttons to be maps.  So, I am attempting to print on fabric.  I read up on it and got to work.  But the first attempt had some problems:
The fabric peeled off of the freezer paper backing in the leading corner causing the black ink mess and I need to darken the images so they don't look so washed out when the ink soaks into the fabric.  So, I will try again, but maybe not until I finish J's headboards.  I will update you when I do!

The next step, the actual tufting, is the most time consuming - especially when you have 130 buttons to tuft and my staple gun broke part way through the 1st headboard.  On the bright side I am replacing it with an automatic one that attaches to our air compressor.  My hands are so thankful it broke!  ;)  So, expect a few days to a week before I post the finished photos in my next post!  

Saturday, March 29, 2014

Headboards Galore: Part 2: Cool tools!

When we last left this project this is what we had:


Remember how I so carefully drilled all those holes?  Well they are still there they are just convered up with all that foam!  So, now we get to transfer the holes to the foam.   Take a long needle and stick it through the hole from the back until it pokes through the foam on the front.  I then took a Sharpie and held it for a second on the foam, against the needle, kind of down into the hole.  I forgot to take a picture of this part, but you are basically marking the spot that the needle came through.  A couple of tips - try to get the needle straight through the foam and not at an angle or the next step will not end well as your two holes may not match up.  Repeat until all the holes are marked on the foam.


 Now comes a fun part.  You have to make holes in the foam.  My buttons were 7/8 inch in size and so I decided to go with a 1.5 inch hole.  You can accomplish this several ways.  You can cut through the foam with very sharp scissors, a box cutter might work but I have not tried that, or you can do it the slightly more expensive but save yourself a lot of headache way like I did.  I bought a button tufting foam cutter.  They come in a radius of 1 in., 1.25 in. or      1.5 in. that I saw.  There could be other sizes as well.  You hook that little tool up to a drill, spray the end of it with silicon spray often, center it over a dot and drill away!  Nice holes that are uniform in size and fairly easy to cut.


It is kind of hard to see, but this is what you end up with - this was the first try so there is only 1 hole and one plug sitting on the foam.


My husband did this part for me why I was marking the other headboard.  He tried doing it while it was propped against a wall, but ultimately found it was easier to do if you laid it flat on the ground and then started drilling.  He also highly recommends spraying the foam cutter with the silicon spray often as that made a huge difference!


The next step is to add a layer of batting over the foam.  All the tutorials I read did this - I don't know why, but my best guess is that it kind of smooths everything out.   I happened to have some in my supply closet that covered both of J's headboards, but I am going to have to make a run to get more to cover T's.  You staple it to the back with a staple gun and then trim off any excess.


And this is what it should look like at this point.  Notice the detail on the top is not as obvious.  When I get the fabric on and start pulling things tight that should bring out the detail in the top again.
So far, so good.  Stay tuned for the next post on this project.  It is looking more and more like it is actually going to work!  YAY!!!!!!

Tuesday, March 25, 2014

Headboards galore! Part 1: Wood and Foam!

So, when I try something new I tend to jump right in.  No, starting small until I figure out if it is going to work or not.  That is just how I am.  This weeks project has been on my mind for months and months......  Headboards.    On my to do list has been a deeply tufted headboard for my oldest daughter (actually 2 - her bed is in a corner and so we are doing one for the head of her bed and one for along the side of the bed that is against the wall) and a not quite as deeply tufted headboard for my son.  This week I finally got to work on them.

I read all sorts of tutorials and then jumped right in.   After reading all the descriptions I decided that I wanted a deeply tufted diamond tufting on my daughter's 2 headboards and less tufted rectangle tufting on my son's headboard.  First I measured and used graph paper to lay out the size and tufting pattern for each headboard.

Next, I grabbed the hubby and we headed to Home Depot.  We grabbed two 4 ft x 8 ft pieces of wood.  Cost was around $45.  I originally thought I would need 3 sheets, but adjusted the height of two of my headboards to 24 inches so that I could get 2 out of 1 board and save some dollars.  Wood is not cheap!  We had Home Depot cut the boards to size for us.  The headboard that is going at the head of my daughter's bed was going to have some detail and not be just square.  So, I worked with my daughter to create a shape we both liked and then made a template.  I sketched it unto the board and borrowed a friend's jigsaw to cut it out.  I love how it turned out!

Then, I transferred the grid lines from my graph paper to the wood and marked each place that I needed to drill a hole with an X.    This, is where I surprised my husband.  While he was at work I found his drill, figured out how to switch the bit, and drilled through each X all on my own.  He acted surprised when he got home - so apparently he didn't think I knew how.  ;) 


 The next part involves foam.  I used an egg crate type foam mattress topper from Walmart.  I think it was cheaper doing it this way then buying the foam padding from the fabric store.  That stuff is expensive!  I used a total of 3 full size foam mattress pads.   I bought these a while back and I am going to have to swing by Walmart to see how much I paid.  I will update this when I find out.  I also used a can of spray adhesive.  The one pictured worked OK for this project, but I might try a different one next time.  I just already had this one on hand.  I had to piece the foam together in paces - which is totally fine!  I also doubled it up so that I had 2 layers over my whole board.  I wanted it to be a little thicker and I had enough foam to do it.  Yay!


After all the foam was adhered to the board or another piece of foam with the spray adhesive, I flipped the board over and used scissors to cut along the edge.  I was going to use a box cutter, but couldn't find it and found that my sharp sewing scissors worked pretty well for this.  They did end up with adhesive residue on them that I am hoping I can get off - so beware if you use expensive sewing scissors!


 And that brings us to where I am now.  The boards are covered with the first layer.  The next steps are to get all of my buttons made and covered (130 for my daughter's and 24 for my son's).  And to cut out parts of the foam on my daughter's so that the tufting gets good and deep.  More on that on my next post!


I have never done this before and what you see above is where I stopped about an hour ago when I wore out.  I hope to get this project completely done in the next week or two.  I will post updates - so you will know if it is total fail!  Wish me luck!  I am going to need it!

Tuesday, February 18, 2014

Music wall with Vinyl!

For the first real post on this new blog I think I will start with a project that has been on the to get done list for quite some time.  Vinyl on my daughter's wall.  Her passion is music.  She plays piano, violin and viola.  When she started violin about 1.5 - 2 years ago her teacher said she had never had anyone pick it up so quickly - she totally skipped that squeaky stage - yay for me!  So she soon decided she needed another challenge and wanted to learn viola.  Since she was due for an instrument upgrade, because the old one was too small, we decided to go with a 5 string violin.  With the 5 string she can play either viola or violin on the same instrument.  Viola has a totally unique clef called the Alto clef.  It is somewhat rare in that most instruments don't ever use it.  She had to learn a completely new set of notes to play viola.   So, that is the story behind the inspiration for this complicated wall art!

TA DA!


So, she picked the song and it is by Vivaldi.  When I told her we could do a real song I was thinking Twinkle, Twinkle difficulty and she had other ideas.  It is written in the alto clef so that it is unique, just like her and to highlight being your own kind of beautiful.

The saying and the mirrors are left over from her old room.  I redid the saying to match the purple and then used then mirrors as the bottom of the notes instead of the center of flowers.  The mirrors are etched.  I made a vinyl stencil and then used etching cream to etch the glass.  I kept the saying and value mirrors in the room because I want her to have a constant reminder through the tumultuous teen years that these are the things of value and that they are what create our inner beauty and that our outer beauty is a reflection of that inner beauty. 

We still have a few projects to go in this room.  A simple one is that I want to cover her white fan blades in a zebra print pattern and I have a headboard I want to make for her bed.  Hopefully we can start pulling those projects out of my very full project bin and get them done!